Essential Wilderness Navigation: Master Map Reading Without GPS
Essential Wilderness Navigation: Master Map Reading Without GPS
When your smartphone dies in the backcountry, your true navigation skills become your lifeline. While GPS devices have revolutionized outdoor exploration, understanding traditional navigation methods remains essential for any serious wilderness adventurer. This comprehensive guide will equip you with the knowledge to confidently navigate remote terrain using maps and compasses—skills that have guided explorers for centuries.
Why Traditional Navigation Skills Matter
GPS technology fails. Batteries die, devices malfunction, and signal disappears in deep canyons and dense forests. More importantly, developing navigation proficiency builds the confidence and situational awareness that separates experienced adventurers from unprepared hikers.
Mastering map and compass navigation teaches you to:
- Understand terrain before you encounter it
- Make informed route decisions based on geography
- Move confidently through unfamiliar landscapes
- Develop spatial awareness of your surroundings
- Navigate safely when technology fails
These skills transform your wilderness experience from following a GPS breadcrumb trail to actively engaging with the landscape around you.
Understanding Topographic Maps
Choosing the Right Map
Topographic maps—often called topo maps—are essential tools for backcountry navigation. The USGS (United States Geological Survey) produces the most widely available and reliable topographic maps for North America. For serious wilderness exploration, obtain maps at a scale of 1:24,000, which provides excellent detail for hiking and mountaineering.
Map scale tells you how many ground units equal one map unit. A 1:24,000 scale means one inch on the map represents 24,000 inches (or approximately 0.38 miles) on the ground. Larger scale numbers mean more detailed maps—useful for technical terrain where precision matters.
Decoding Contour Lines
Contour lines are the most important feature on topographic maps. Each line represents a consistent elevation, typically with major contour lines marked every 100 or 200 feet. The closer together these lines appear, the steeper the terrain. Widely spaced lines indicate gentle slopes.
Practice these essential interpretations:
- Concentric circles indicate summits or depressions
- V-shaped contours point upstream when crossing valleys
- Parallel lines show consistent slope angles
- Tight groupings warn of cliff faces and technical terrain
Spend time studying maps of familiar hiking areas. Walk trails you know while referencing the map. This builds intuitive understanding of how contour lines translate to real-world terrain.
Other Critical Map Information
Beyond elevation, quality topographic maps provide:
- Grid lines for coordinate reference
- Water features including streams, lakes, and intermittent water sources
- Vegetation symbols showing forest, meadow, and bare rock
- Man-made features like trails, roads, and buildings
- Magnetic declination information for compass adjustment
Always check the map legend. Different publishers use slightly different symbols, so understanding your specific map’s conventions prevents critical errors.
Mastering Compass Navigation
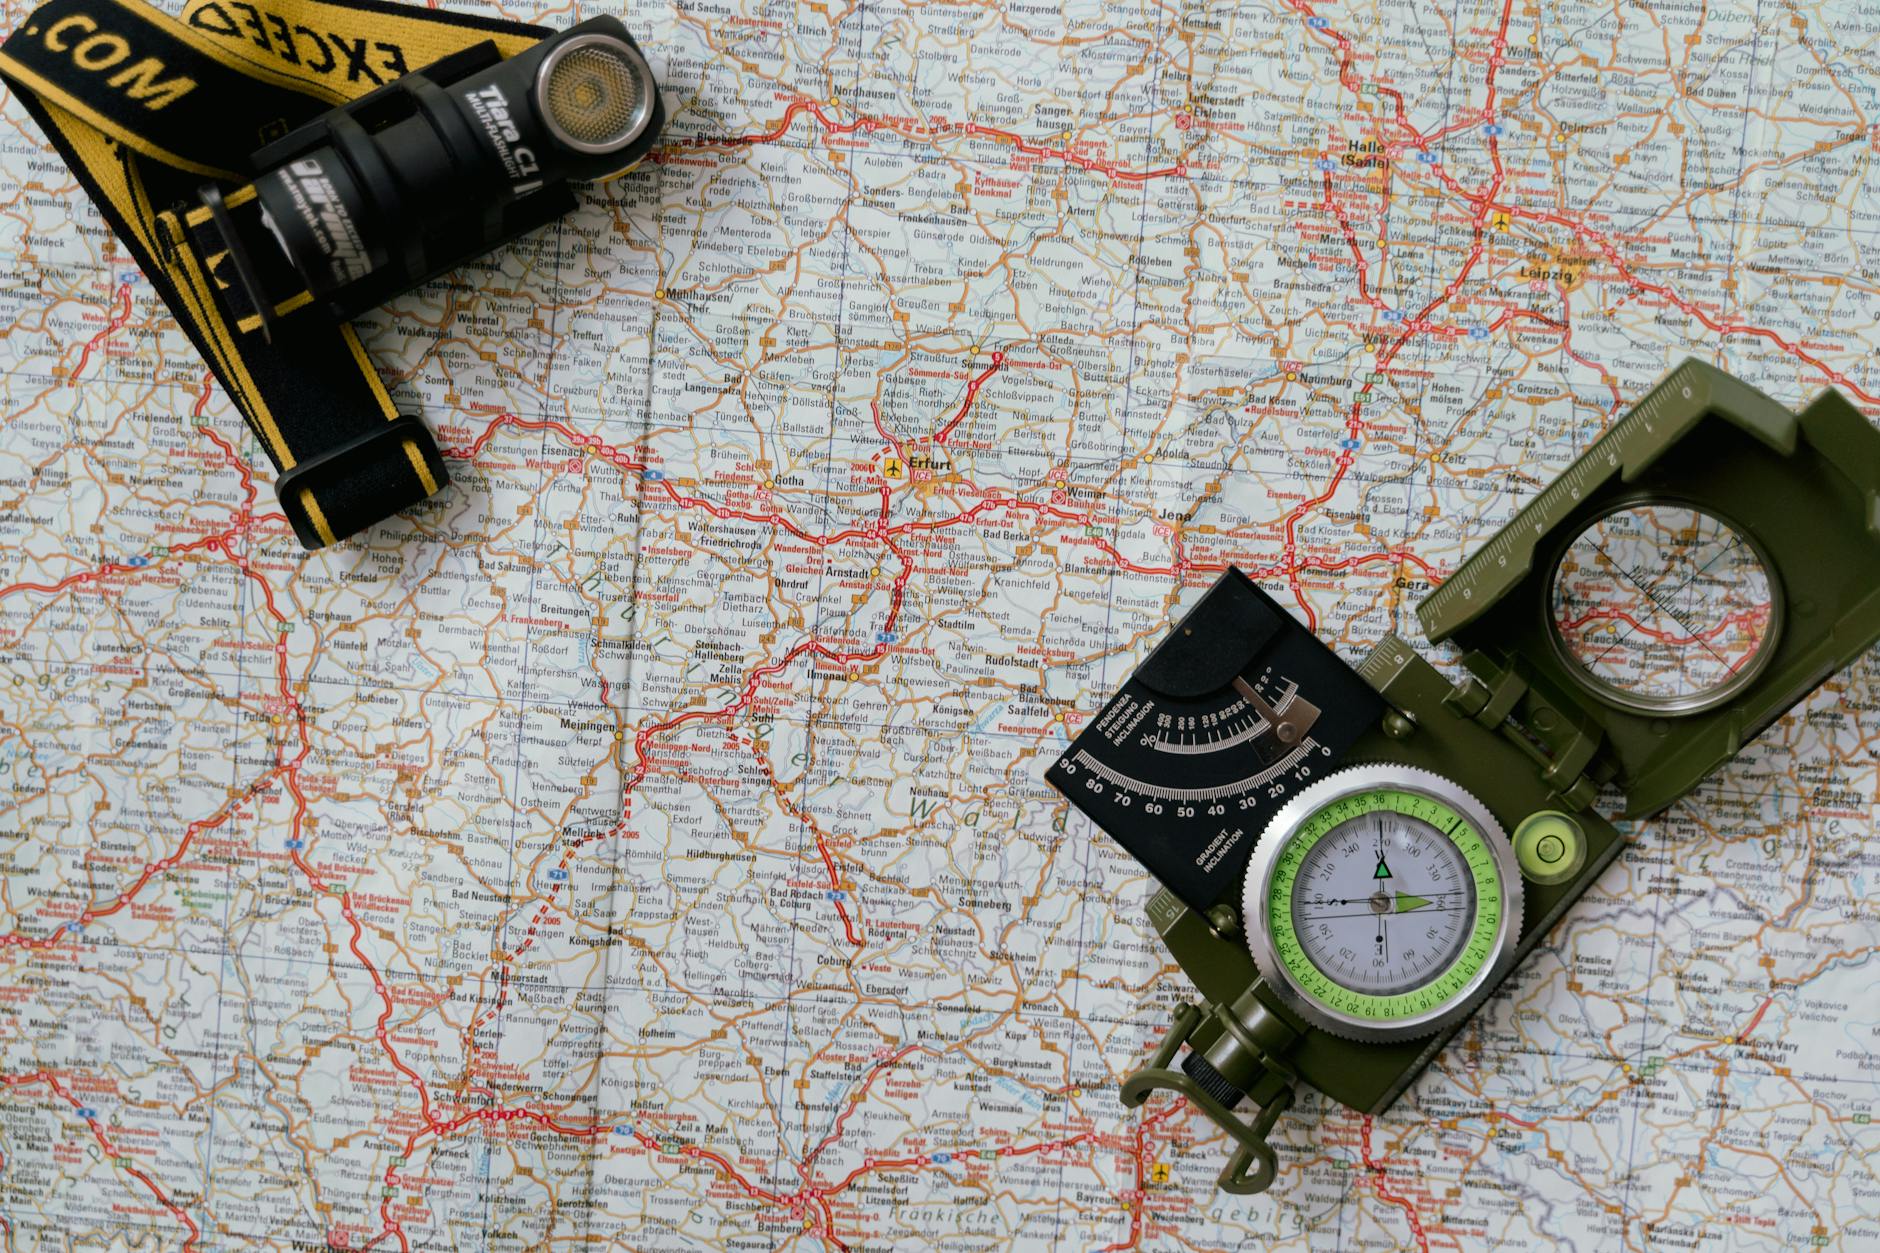
Selecting an Appropriate Compass
Invest in a quality orienteering compass with these essential features:
- A base plate with distance scale markings
- A rotating bezel with degree markings
- Clear orienting lines aligned with the baseplate
- A magnetic needle that moves freely
- A direction-of-travel arrow
Avoid novelty compasses or those built into multi-tools. A dedicated orienteering compass costs $20-40 and dramatically improves navigation accuracy.
Finding Your Position: Triangulation
Triangulation allows you to pinpoint your exact location using landmarks and your map. This technique requires identifying at least two (preferably three) visible landmarks that appear on your map.
The triangulation process:
- Identify a prominent landmark visible from your location (mountain peak, fire tower, distinctive ridge)
- Place your compass’s edge against this landmark on the map
- Rotate the compass bezel until the orienting lines align with the map’s grid lines
- Read the bearing on the compass housing
- Adjust for magnetic declination (more on this shortly)
- Stand at your location and rotate your body until the compass needle aligns with the orienting lines
- The direction-of-travel arrow now points toward the landmark
- Repeat this process with a second landmark
- Your position lies where the two lines intersect on the map
Triangulation requires practice. Start in familiar terrain where you can verify results. Use the technique regularly until it becomes second nature.
Managing Magnetic Declination
Understanding the Declination Problem
Maps reference true north (the geographic pole), while compasses point toward magnetic north (the magnetic pole). These don’t align. The difference, called magnetic declination, varies by location and changes over time.
In the continental United States, declination ranges from about 20 degrees east to 20 degrees west. Using an incorrect declination causes cumulative navigation errors—a one-degree error results in walking 92 feet off course per mile traveled.
Correcting for Declination
For easterly declination (east of the Mississippi): Add the declination value to compass bearings
For westerly declination (west of the Mississippi): Subtract the declination value from compass bearings
Your map shows the declination value and includes a diagram illustrating local magnetic variation. Write the declination value directly on your map. Many experienced navigators create a small plastic or tape overlay marking the declination for quick reference.
Practical Navigation Techniques
Taking and Following Bearings
- Place the compass’s edge between your current location and destination on the map
- Rotate the bezel until orienting lines align with map grid lines
- Read the bearing indicated at the direction-of-travel line
- Adjust for declination
- Hold the compass level and rotate your body until the magnetic needle aligns with the orienting lines
- The direction-of-travel arrow points toward your destination
- Select an intermediate landmark along that bearing (a tree, rock, or distant peak)
- Walk toward that landmark, then repeat the process
Maintaining Situational Awareness
Navigate defensively. Regularly confirm your position through:
- Identifying visible landmarks that match your map
- Checking elevation changes match expected terrain
- Verifying water features correspond to map locations
- Noting trail junctions and their mapped locations
If something feels wrong, stop and determine your exact location through triangulation rather than continuing with doubt.
Building Reliable Navigation Habits
Pre-Trip Preparation
Before entering the wilderness:
- Study your map thoroughly, noting elevation changes and potential landmarks
- Identify bailout routes if weather deteriorates or injury occurs
- Mark your intended route with a highlighter for quick reference
- Write key bearings and distances on the map margin
- Share your route with someone staying behind
Navigation Discipline
Maintain consistent navigation habits:
- Check position every 30-45 minutes during the day
- Don’t rely on following others who might be lost
- Stop at decision points—junctions, terrain changes, crossings
- Verify position before major route changes
- Accept when you’re uncertain and backtrack rather than push forward blindly
Conclusion
Mastering wilderness navigation through map and compass work represents an investment in your safety and wilderness confidence. These skills connect you more deeply to the landscape while providing the competence to explore remote areas responsibly.
Start practicing in familiar terrain. Take a compass and map on day hikes. Practice triangulation, bearing-taking, and position verification. Gradually expand to more challenging terrain and navigation scenarios. Over time, these techniques become intuitive—enabling you to navigate complex wilderness with confidence and precision.
The wilderness rewards preparation. Develop these navigation skills before you need them, and you’ll explore far beyond the reach of marked trails.