
How to Start Solo Hiking Safely: The 2026 Beginner's Blueprint for Independent Trails
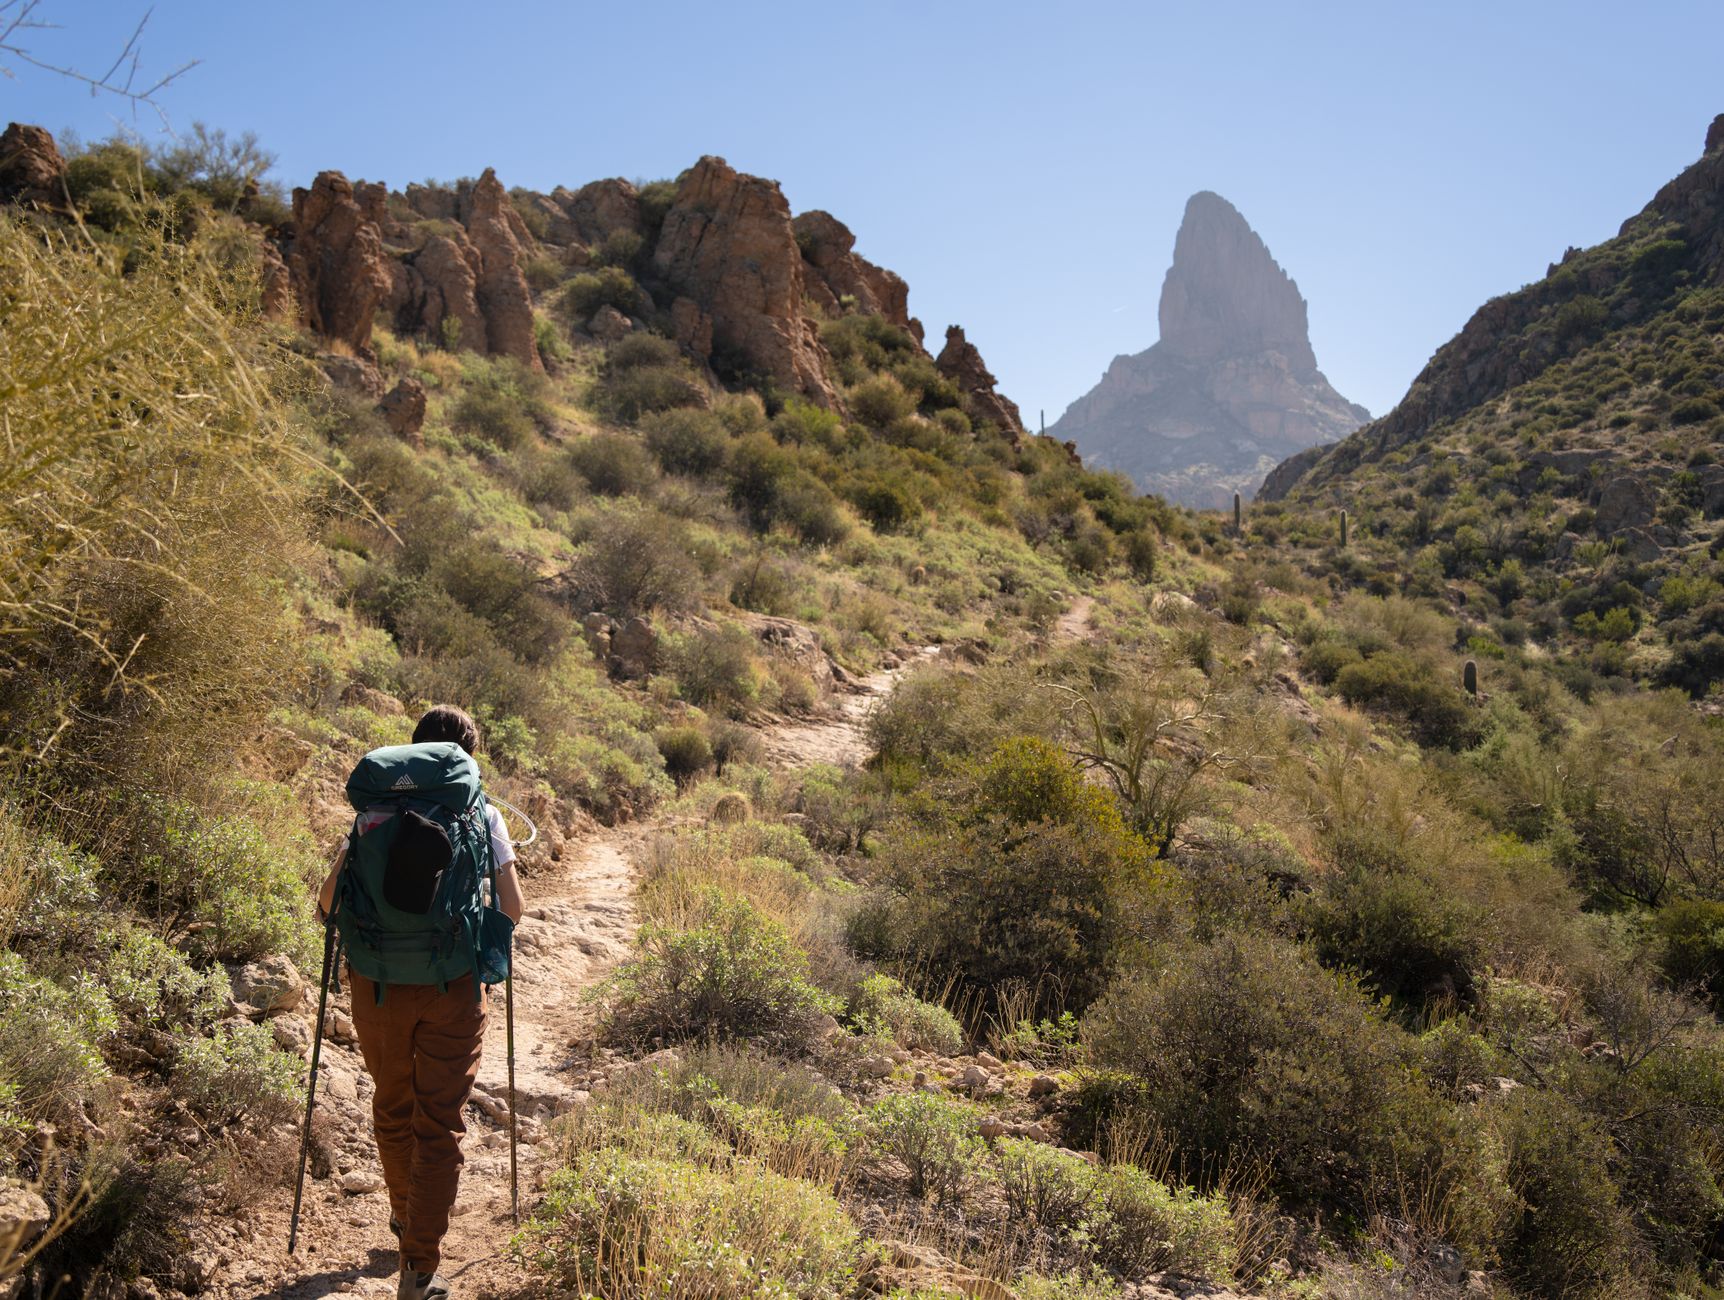
The solo hiking boom isn’t slowing down. In 2026, trail registration data from National Park Service counters shows a 34% increase in individual hikers compared to pre-pandemic numbers, and apps like AllTrails have pushed their “solo hiker” badge system to over 2 million users. But here’s what the Instagram summit shots don’t show: search-and-rescue incidents involving solo hikers rose 18% last year, with the majority involving people who’d been on fewer than five independent trips. The gap between wanting to hike alone and actually doing it safely is where most beginners stumble.
If you’re ready to trade group chat logistics for the rhythm of your own boots on dirt, here’s how to start solo hiking safely without becoming a cautionary tale.
Why the Mental Shift Matters More Than Your Gear List
Most “how to start solo hiking safely” guides jump straight to bear spray and satellite communicators. Critical gear matters, but the psychological transition from group dependency to self-reliance is where the real work happens.
Start with visibility hikes—solo walks on heavily trafficked urban trails where help is minutes away. Runyon Canyon in Los Angeles, Atlanta’s BeltLine trails, or Chicago’s Montrose Point. These aren’t “real” wilderness, but they build your capacity to make decisions alone: when to turn around, how to pace yourself without social pressure, what your body actually needs versus what the group decides.
Track your solo decisions. After each visibility hike, note one choice you made differently than you would have in a group. Maybe you stopped earlier. Maybe you took a longer loop because you felt strong. This awareness becomes your safety intuition on remote trails.
The Progressive Trail System: Build Your Solo Range
Don’t let your first solo be a 12-mile mountain loop. Use this four-stage progression that search-and-rescue professionals quietly recommend:
Stage 1 (Weeks 1-4): Trails under 3 miles with cell service, 50+ AllTrails reviews monthly, and parking lots that fill by 9 AM. Think local nature preserves, county parks, rail-trail segments.
Stage 2 (Weeks 5-8): 3-6 mile loops with intermittent cell service, established trail markers, and documented water sources. State park day-use areas work well.
Stage 3 (Months 3-4): 6-10 miles with potential for weather exposure, requiring map backup beyond phone GPS. National forest trailheads, early starts mandatory.
Stage 4 (Month 5+): Overnight or remote day hikes where self-extraction would take 6+ hours. This is your earned territory.
The key metric isn’t distance—it’s time to help. At every stage, you should know exactly how long until another human finds you if you stop moving. Stage 1: under 30 minutes. Stage 4: you carry the tools to survive that window.
Solo-Specific Safety Systems That Actually Work
Group hiking safety is social. Solo safety is procedural. Implement these non-negotiables before your first independent trail:
The Three-Point Communication Protocol
- Before: Text your exact trailhead, route, and return window to two contacts who don’t live together. “Back by 6 PM, worry at 8 PM, call SAR at 10 PM.”
- During: InReach Mini 2 or Zoleo satellite check-in at your turnaround point—not because you’re in trouble, but because the device confirms you reached it.
- After: Immediate “home safe” message with a specific code word. “Trail cat” means it’s really you, not someone with your phone.
The 20% Rule Solo hikers burn decision-making energy faster. Plan to finish with 20% of your water, food, and daylight remaining. Groups push through; solo smart hikers turn around at 80% expenditure.
The “Two Navigations” Standard Phone GPS fails. Paper maps get wet. Carry both, plus know how to use a compass for basic orientation. In 2026, the most reliable backup is still a $12 Suunto baseplate compass and a waterproofed printout from CalTopo.
Gear That Earns Its Pack Weight
Your solo kit differs from group hiking in one principle: redundancy for critical systems. You can’t borrow what you forgot.
Communication: Garmin inReach Mini 2 or Zoleo (not just a phone—satellite coverage for “no signal” valleys). Budget alternative: borrow a PLB from your local outdoor club for first trips.
Shelter: Even on day hikes, a SOL Emergency Bivvy (3.5 oz, $17) means you can survive an unexpected night. The 2026 model has improved breathability ratings—worth the upgrade.
Repair: Tenacious Tape strips, a spare bootlace, and a mini multi-tool with pliers (not just a blade). Blisters you can’t fix become immobilizing without a group to slow down for.
Signaling: The Fox 40 Sonik Blast whistle hits 120 decibels and works when your voice is gone. Attach it to your pack strap, not buried in a pocket.
Skip the tactical cosplay. The safest solo hiker looks boring: bright colors, known trail, standard gear. Rescue teams find predictable.
Reading Risk When You’re the Only Vote
Group dynamics create natural brake pedals. Solo, you must manufacture your own. Use the STOP-R framework at any decision point:
- Situation: What’s actually happening? (Not what might happen, not what happened to that YouTuber.)
- Threshold: What’s my turn-around trigger? Define this before elevation gain, not when tired.
- Options: What would I tell a friend in this exact position?
- Plan: Commit to one choice for 30 minutes. Reassess, don’t obsess.
- Record: Note it mentally or in a voice memo. Build your risk database.
This matters because solo hikers face a specific cognitive trap: sunk-cost pride. You’ve driven two hours, you’re 3 miles in, clouds are building. Groups split the embarrassment of retreat. Solo, the ego whispers “you’ll be fine.” The STOP-R framework externalizes the decision, making it closer to the group dynamic that kept you safe before.
How to Start Solo Hiking Safely: Your First 90 Days
Here’s a concrete launch plan that respects the learning curve:
Week 1-2: Three visibility hikes, 1-2 miles each, same trail. Learn its moods—morning fog, afternoon crowds, evening shadows.
Week 3-4: Two new trails at Stage 1, full communication protocol each time. Practice the mechanics until they’re automatic.
Month 2: Add one Stage 2 hike weekly. Introduce your emergency bivvy and compass navigation. Get lost on purpose in safe terrain—practice recovery.
Month 3: First Stage 3 hike with an early start, conservative turnaround, and post-hike debrief written to your future self.
Month 4 and beyond: You’re not “experienced” yet, but you’re competent. Earn Stage 4 through consistency, not courage.
The wilderness doesn’t care about your timeline. Solo hiking safely is a practice of incremental trust—in your preparation, your judgment, and your willingness to come back tomorrow instead of pushing through today.
Start small. Start informed. Start with the systems that let you return alone, again and again, until solitude on the trail becomes the reward, not the risk.