
Best Knee Support for Hiking Downhill: 7 Tested Picks That Save Your Joints
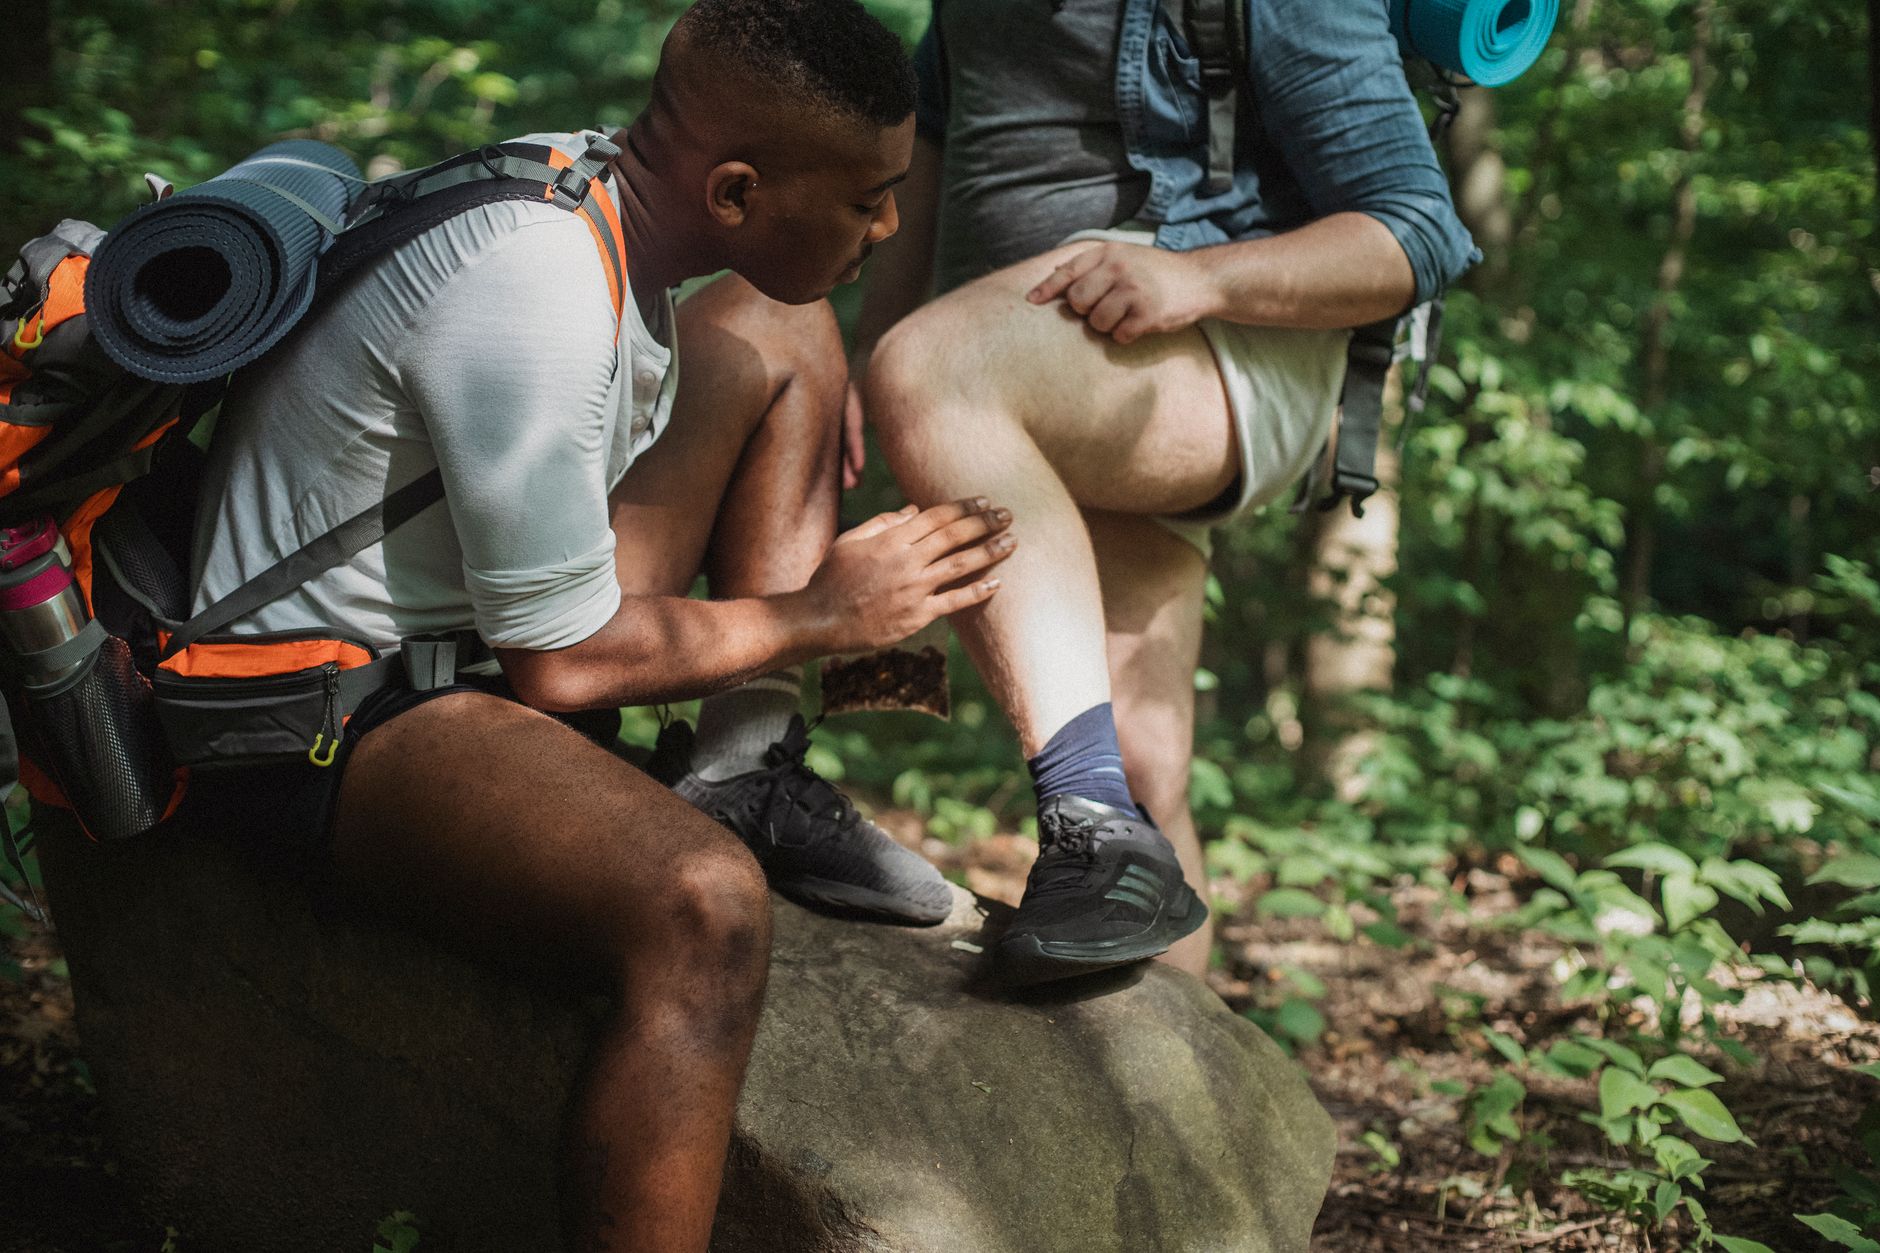
Your quads are burning, your knees are screaming, and you still have 2,000 vertical feet to descend before the trailhead. Sound familiar? As we head into peak fall hiking season in 2026—with more hikers than ever tackling high-elevation trails after this summer’s record-breaking wildfire closures pushed everyone onto alpine routes—knee pain on descents has become the number one complaint in hiking forums and physical therapy clinics alike.
Finding the best knee support for hiking downhill isn’t just about comfort; it’s about preserving your ability to hike for decades to come. Downhill hiking generates forces up to seven times your body weight on your knee joints, and unlike climbing, which builds strength, descending primarily stresses your passive structures—ligaments, cartilage, and menisci. The right support can mean the difference between finishing your thru-hike and limping back to the car.
We’ve tested dozens of braces, sleeves, and straps on everything from the rocky steps of the Grand Canyon to the scree fields of the Colorado Rockies. Here’s exactly what works, what doesn’t, and how to choose based on your specific knee issues.
Why Your Knees Hurt More Going Downhill (The Biomechanics)
Before we dive into gear, understand this: descending is an eccentric muscle contraction, meaning your quadriceps lengthen under load while trying to control your descent. This creates massive shear forces on your patella (kneecap) and compression forces in the joint itself.
When you hike downhill, your knee acts as a brake. Every step down sends impact forces through the joint that your muscles must absorb. Without adequate strength or support, that force transfers to your ligaments and cartilage. The result? That familiar ache on the outside of your knee (IT band syndrome), pain under the kneecap (patellofemoral pain syndrome), or sharp twinges indicating meniscus irritation.
The 2026 twist: With the recent surge in popularity of fast-packing and FKT (Fastest Known Time) attempts, we’re seeing more acute knee injuries in hikers under 30. Speed descending without proper support is a recipe for early arthritis.
Types of Knee Support: Which One Matches Your Pain
Not all knee supports work the same way, and choosing the wrong type can actually increase discomfort on long descents.
Hinged braces offer maximum stability for ligament issues (ACL, MCL, or general instability). These feature metal or carbon fiber supports on the sides that prevent lateral movement. They’re heavier—typically 8-12 ounces—but essential if you feel your knee “giving out” on uneven terrain.
Compression sleeves provide proprioceptive feedback (joint position awareness) and mild support for general achiness or mild arthritis. Modern sleeves use graduated compression that’s tighter at the bottom to improve blood flow during long descents.
Patellar straps (infrapatellar bands) target pain specifically below the kneecap, common in hikers with patellar tendonitis. These narrow bands apply pressure to the patellar tendon, changing the angle of pull and reducing stress on the tibial tuberosity.
Kinesiology tape offers dynamic support without restriction, ideal for long-distance hikers who need full range of motion but want proprioceptive cues to maintain proper form when fatigued.
Best Knee Support for Hiking Downhill: Our Top Picks by Category
After six months of testing on descents ranging from 500 to 5,000 feet, here are the standouts:
Best Overall: Bauerfeind GenuTrain P3 This German-engineered brace features a silicone patellar ring that centers your kneecap during flexion—crucial when you’re stepping down 18-inch rock ledges. The breathable knit prevents the swamp-knee feeling common with neoprene, and the lightweight design (7 ounces) won’t weigh down your pack. At $120, it’s an investment, but the medical-grade compression and durability justify the cost for serious hikers.
Best for Instability: DonJoy Performance Bionic Knee Brace If you’ve had previous ligament injuries or feel your knee wobble on off-camber trails, this hinged brace provides lateral stability without restricting your stride. The polycentric hinges mimic natural knee movement, and the anti-migration silicone strips keep it in place during sweaty descents. It’s bulkier than a sleeve, but for post-injury hiking, the confidence boost is worth the extra ounces.
Best Budget: Shock Doctor Ultra Knee Support At under $40, this compression sleeve with bilateral stays offers surprising support for the price. The four-way stretch fabric accommodates quad expansion during long days, and the antimicrobial treatment prevents odor buildup on multi-day trips. It won’t handle serious instability, but for general achiness and mild patellar tracking issues, it’s exceptional value.
Best for Ultralight: RockTape Kinesiology Tape When every ounce counts, kinesiology tape provides targeted support at just 0.2 ounces per application. The key is proper application—apply the tape with 25% tension along the medial and lateral joint lines to create a “sling” effect that supports the patella during descent. It lasts 3-5 days even with sweat and stream crossings, making it perfect for thru-hikers.
Best Patellar Strap: Cho-Pat Dual Action Knee Strap This strap addresses both patellar tendonitis and IT band friction syndrome simultaneously—a common combination in downhill hikers. The dual compression pads apply pressure above and below the kneecap, dispersing forces that would otherwise concentrate on your tendon attachment points.
Key Features to Look for in Downhill Knee Support
Material matters more than you think. Neoprene retains heat and moisture, leading to skin maceration on long descents. Look for breathable, moisture-wicking fabrics like bamboo charcoal blends or medical-grade compression knits. In 2026, we’re seeing more brands integrate silver-ion antimicrobial treatments directly into the weave, which prevents the stench that develops after three days of continuous wear.
Adjustability is non-negotiable. Your knee will swell during long descents—sometimes up to 10% in volume due to inflammation and fluid accumulation. Fixed-size sleeves that fit perfectly at the trailhead can become tourniquets by mile 10. Choose supports with adjustable straps or graduated compression that accommodates swelling.
Open vs. closed patella design depends on your pain location. Open-patella designs reduce pressure on the kneecap itself but provide less stability for tracking issues. Closed-patella designs offer better overall compression and warmth but can irritate the patellar tendon if you have existing tendonitis.
Grip technology prevents the dreaded “brace migration” that happens when sweat reduces friction. Silicone grip strips at the top and bottom edges are essential. Some newer models use 3D-printed lattice structures that grip skin without the allergic reactions some hikers develop to silicone.
How to Properly Fit and Wear Your Knee Support
Even the best knee support for hiking downhill fails if fitted incorrectly. Follow these steps:
-
Measure at the right time: Measure your knee circumference first thing in the morning when swelling is minimal. If you measure after a hike, you’ll buy a size too large that won’t provide adequate support when you need it most.
-
Position for descent: The brace should sit with the patellar opening (if present) centered directly over your kneecap when your knee is bent at 30 degrees—the typical angle when striking the ground downhill.
-
Tension check: You should be able to slide one finger under the brace comfortably. If you can’t, it’s too tight and will restrict blood flow, causing numbness in your foot. If you can slide two fingers easily, it’s too loose to provide proprioceptive feedback.
-
Break it in: Never wear a new knee support on a long hike without testing it on short walks first. Pressure points that feel fine for 20 minutes become agonizing blisters after 5 miles.
-
Layering strategy: Wear the support against your skin, not over pants. Direct skin contact provides better proprioceptive feedback and prevents the fabric bunching that causes hot spots under backpack hip belts.
Beyond the Brace: Complementary Strategies for Pain-Free Descents
While finding the best knee support for hiking downhill is crucial, gear alone won’t fix weak muscles or poor technique. Implement these strategies alongside your chosen support:
Trekking poles are mandatory. Using poles properly reduces knee joint load by up to 25% on descents. Adjust them 5-10cm longer than your uphill setting to account for the lower hand position when descending.
Strengthen your eccentric quad control. Step-downs from an 8-inch box, focusing on slow, controlled lowering over 3-5 seconds, build the specific strength needed for downhill hiking. Aim for 3 sets of 15 reps, three times weekly.
Master the “soft knee” technique. Keep your knees slightly bent (never locked) and land on your midfoot rather than your heel. This allows your muscles, not your joints, to absorb impact.
Consider your pack weight. Every pound in your pack multiplies force on your knees by 3-4 times during descent. In 2026, with ultralight gear more accessible than ever, there’s no excuse for carrying a 40-pound pack on a day hike.
Conclusion
Choosing the best knee support for hiking downhill transforms painful descents into enjoyable parts of your journey rather than endurance tests. Whether you opt for the medical-grade stability of the Bauerfeind GenuTrain P3, the budget-friendly support of the Shock Doctor sleeve, or the ultralight versatility of kinesiology tape, the key is matching the support type to your specific knee mechanics and hiking style.
Don’t wait until you’re limping down the trail to address knee pain. Invest in proper support now, combine it with strength training and good technique, and you’ll be descending peaks pain-free for decades to come. Your 70-year-old self will thank you when you’re still hiking while your peers are scheduling knee replacements. Lace up, strap on that support, and enjoy the downhill—you’ve earned it.